Physical Lens Alignment
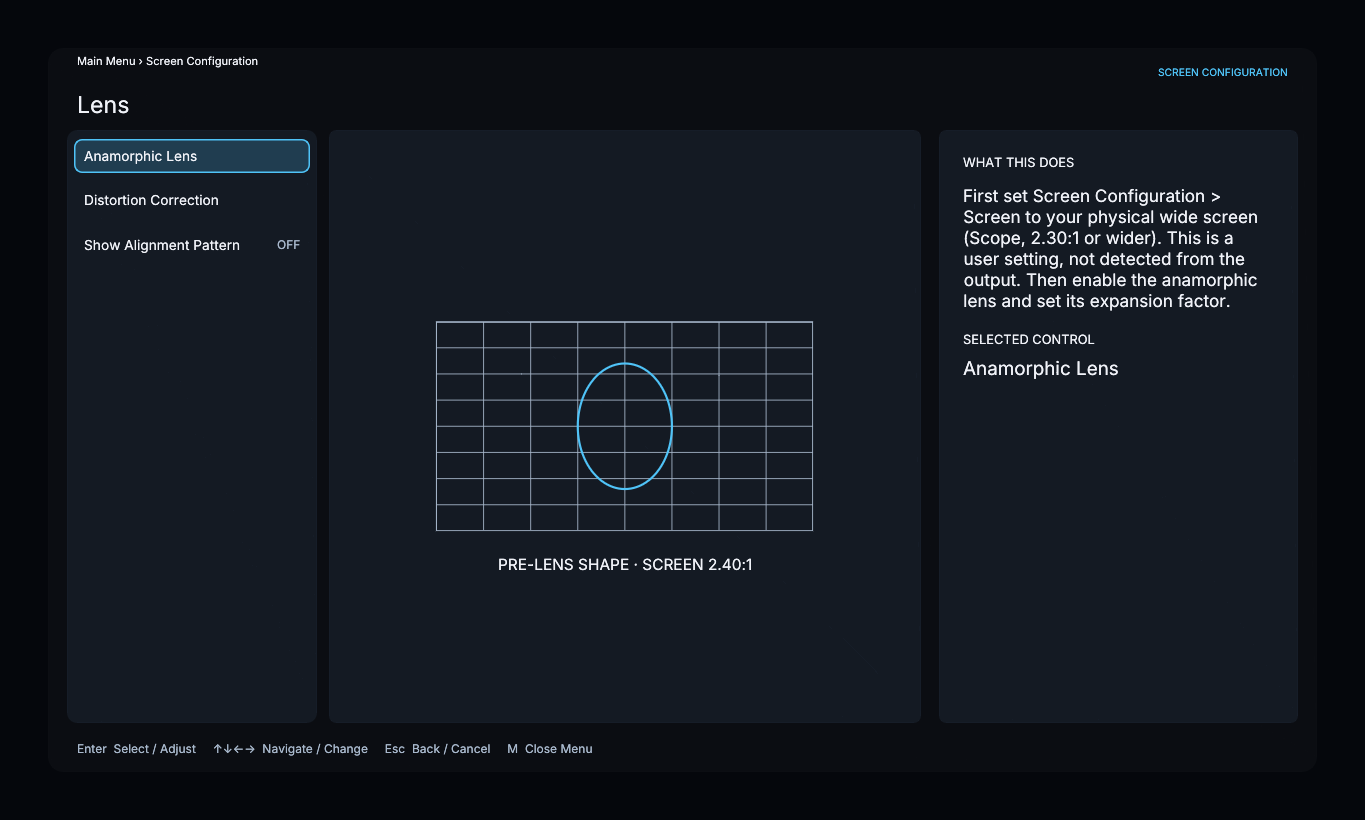
Set the physical screen ratio and anamorphic expansion, then enable Screen Configuration → Lens → Show Alignment Pattern.
- Confirm that the projector is level and square to the screen.
- Center the projector beam through the lens.
- Adjust the mount’s yaw, pitch, and roll until the projected grid is level and centered.
- Tighten the mount and check the grid again.
The grid follows the configured screen and active lens compensation. Use digital linearity or distortion correction for remaining optical errors after physical alignment. Turn off Show Alignment Pattern when finished.